

How to Fold Napkins for a Dinner Party with Style and Flair
A neatly folded napkin adds polish to a dinner table. If you’re wondering how to fold napkins for a dinner party, try one of these five styles: bow, Christmas tree, leaf, loop, or scrunch-and-tie. Each creates a different look, from softly gathered fabric to a crisp seasonal shape.
An elegant place setting doesn’t need an elaborate fold. A few simple steps can make a thoughtful impression. Choose a style that suits your table and is easy to prepare before guests arrive.
This guide explains each fold with practical tips for shaping and presenting it neatly. You’ll find ideas for different occasions and ways to coordinate the finished napkin with your tableware.
Key Takeaways
- Discover how a bow fold adds a soft, decorative accent to each place setting.
- Use the Christmas tree fold to bring a seasonal touch to your dinner table.
- Shape a leaf fold with concertina pleats for an elegant, sculptural finish.
- Try a loop fold when you want a simple form with a graceful shape.
- Make a relaxed scrunch-and-tie fold by gathering a corner and securing it with a napkin ring or string.
Bow napkin fold
A bow fold turns a neatly shaped napkin into a soft centrepiece for an individual place setting. It’s a polished option when learning how to fold napkins for a dinner party.
Select napkin size and fabric
Choose a square napkin with enough fabric to form a broad strip and two distinct loops. Cotton or linen napkins hold creases and give the bow a substantial finish. Paper napkins can also work, but handle them gently to avoid tearing. Check that the bow fits comfortably on or beside the plate without crowding the cutlery or glassware.
- Lay the napkin flat. Smooth out creases on a clean surface, then turn the fabric so its edges sit evenly. For a paper napkin, separate the layers carefully before folding so they don’t pull apart.
- Fold it into a strip. Bring the top and bottom edges towards the centre, then fold the resulting band lengthways until it’s narrow enough to gather. Keep the edges aligned; uneven layers can make one bow loop look larger.
- Pinch the middle. Gather the strip at its centre, shaping each side into a loop. Adjust the loops gently until they look balanced, then smooth the ends into two tidy tails.
- Secure the bow. Fasten the centre with a napkin ring or a short length of ribbon. Keep the fastening snug rather than tight, so the loops stay full and the fabric isn’t crushed.
- Choose a display position. Place the finished bow on the plate for a decorative focal point, or beside it when the plate needs to remain clear. Keep it clear of cutlery and glassware, and use the same placement across the table.
- Keep formal etiquette simple. For a formal UK dinner party, set a clean, neatly folded napkin where each guest can reach it. Guests place it on their lap before eating, rather than using it as decoration throughout the meal.
- Make a cutlery pocket when useful. Fold a napkin in half into a rectangle, with the open end facing you, then fold it into quarters. Turn the open corner to the top right, roll the top layer diagonally to the centre, flip it over, fold the right side in by a third, then fold the left side over it.
- Try other shapes and plan ahead. For a fan, concertina-fold the napkin, fold the pleats in half and secure the base. For a rose, roll diagonally from one corner, coil the strip and tuck in the end. Fold napkins before setting the table; fabric crease retention and storage space determine how early they can be prepared.
Place the folded napkin
Place the bow in the centre of each plate to anchor the setting, or beside the plate if you need to keep its surface clear. Make sure every bow faces the same way and leaves the cutlery easy to reach. For a compact table, a slim bow beside the plate keeps the setting tidy.
Christmas tree fold
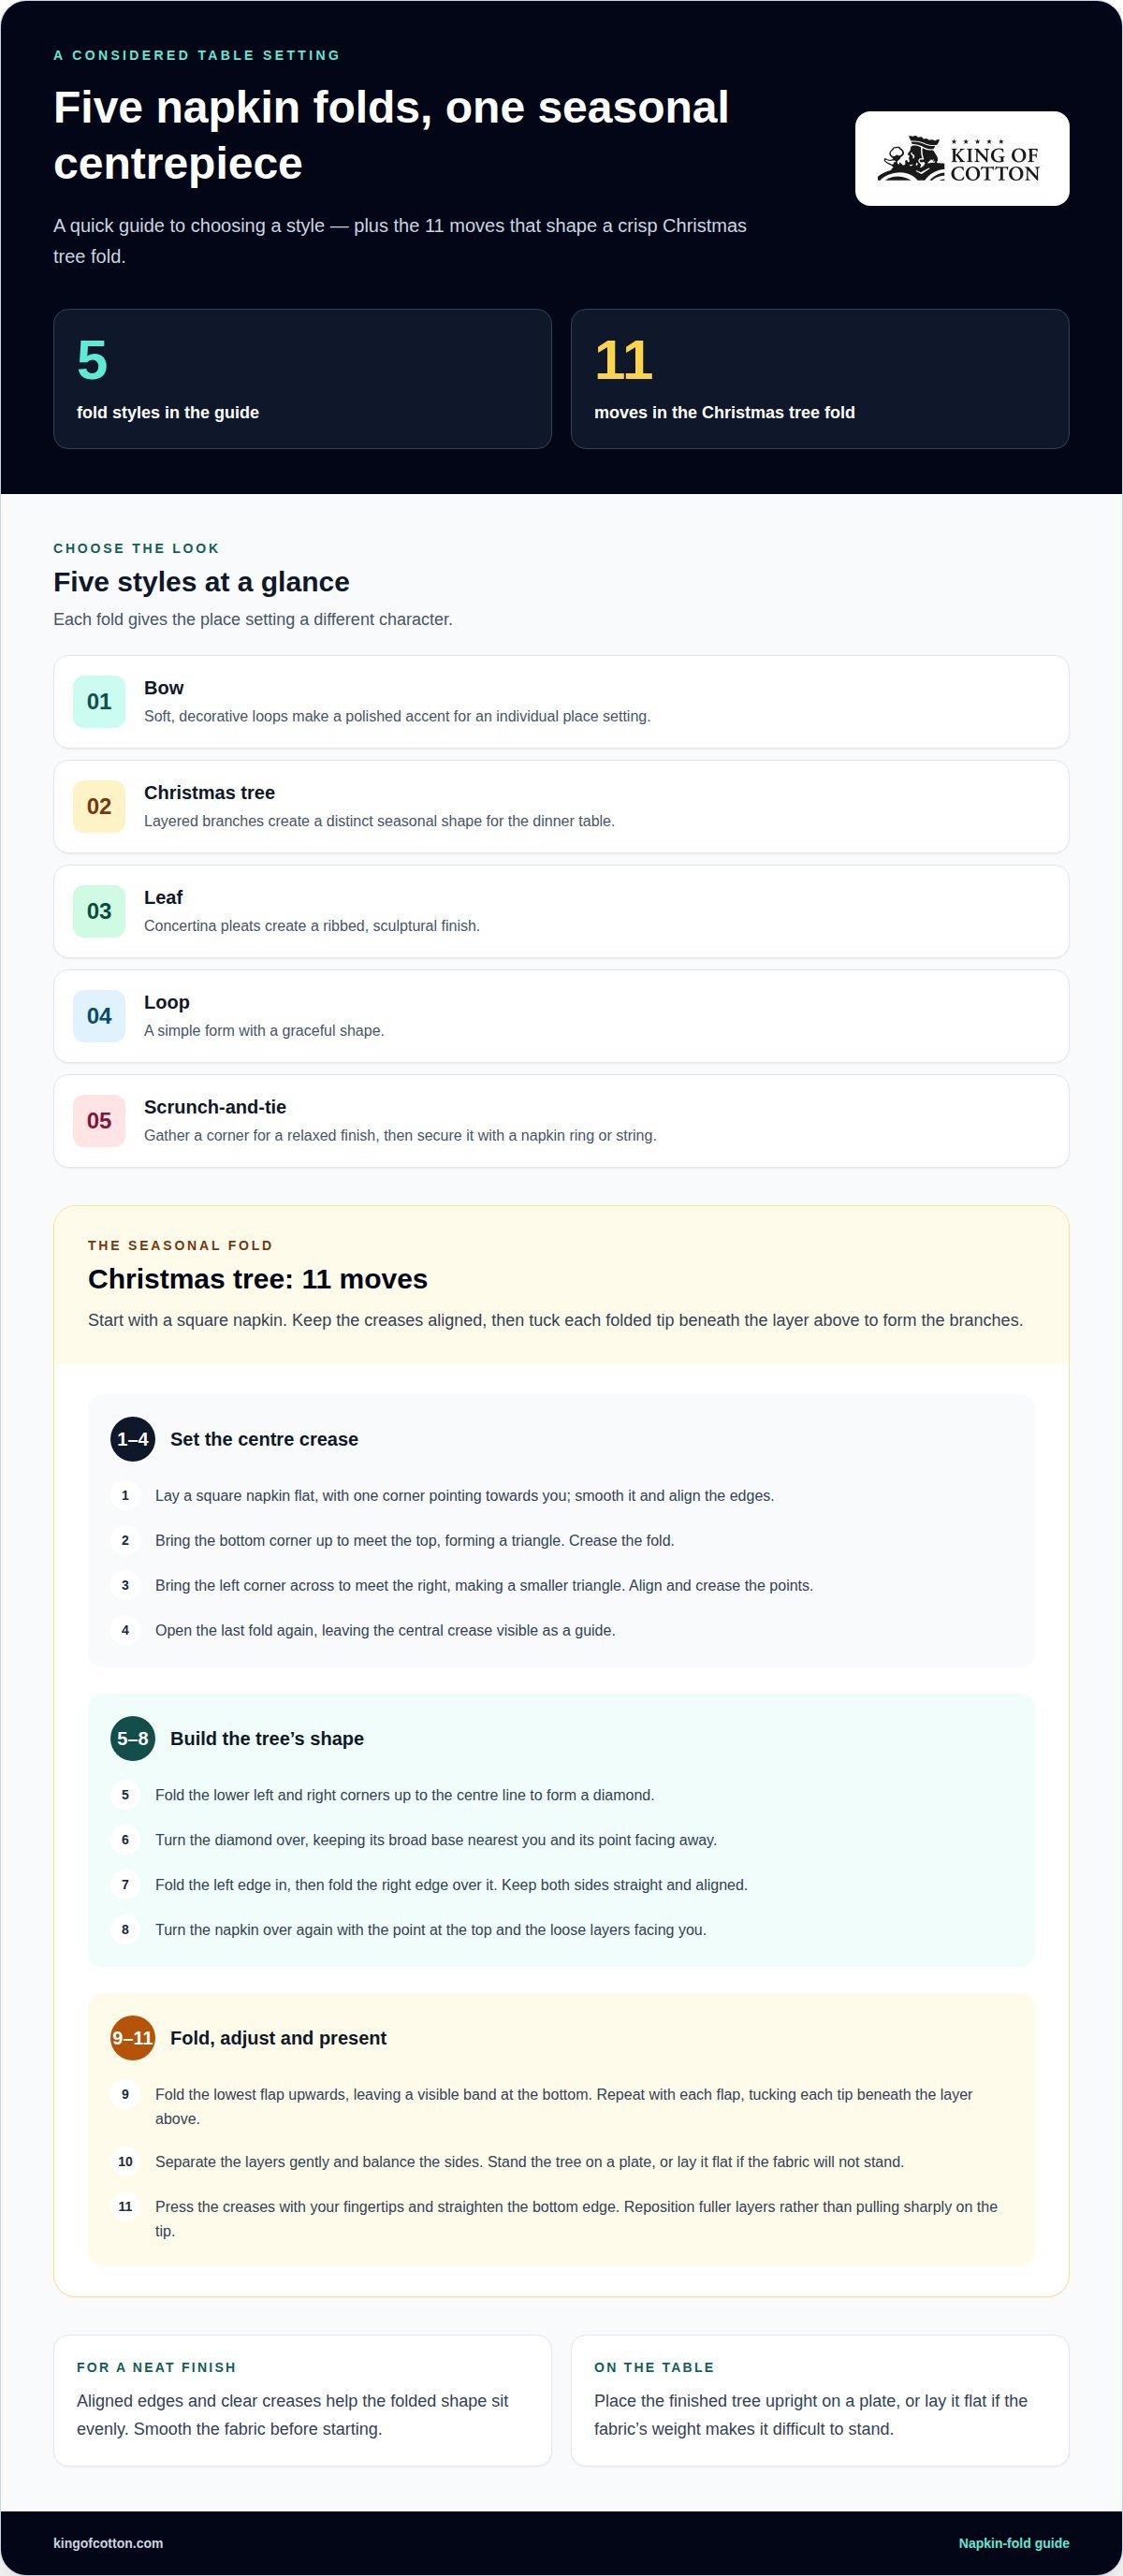
A Christmas tree napkin gives each place setting a distinct seasonal shape. Start with a square napkin, fold the corners into layered branches, then shape the tree’s sides and tip.
- Lay the napkin flat. Place a square napkin on a clean surface, with one corner pointing towards you. Smooth the fabric so the edges align and the finished tree sits evenly.
- Fold the napkin in half. Bring the bottom corner up to meet the top corner, forming a triangle. Run your fingers along the crease to hold the shape before continuing.
- Fold the triangle into a smaller triangle. Bring the left corner across to meet the right corner. Align the points carefully, then crease the fold to keep the layers from shifting.
- Open the last fold. Return the napkin to its larger triangle, keeping the central crease visible. This crease marks the centre line and helps you fold both sides evenly.
- Bring the lower corners upwards. Fold the left and right corners towards the top point, meeting them at the centre line. The napkin now forms a diamond, with its point facing upwards.
- Turn the diamond over. Keep the broad base nearest you and the top point facing away. Turning the napkin hides the previous folds and creates a smooth surface for the tree’s layered branches.
- Fold both sides towards the centre. Bring the left edge in, then fold the right edge over it. Keep the sides straight and aligned; this narrow shape forms the tree’s trunk and outer silhouette.
- Turn the napkin over again. Place the folded point at the top, with the loose layers facing you. Check that the centre seam runs vertically before shaping each branch.
- Fold the lowest flap upwards. Bring its tip towards the top, leaving a visible band at the bottom. Repeat with each remaining flap, tucking each tip beneath the layer above it to create stepped branches.
- Shape the tree for the table. Gently separate the folded layers and adjust the sides until the tree looks balanced. Set it upright on a plate, or lay it flat if the fabric’s weight makes it difficult to stand.
- Refine the finished folds. Press each crease with your fingertips, then straighten the bottom edge so the tree sits neatly. If one side looks fuller, reposition the layers rather than pulling sharply on the top point.
Leaf fold
Start with a square napkin and fold it in half to form a triangle. Make concertina creases from right to left to create the leaf’s ribbed shape.
- Prepare the napkin. Lay a clean square napkin on a flat surface, with one corner pointing towards you. Smooth the fabric before folding; trapped creases can interrupt the leaf’s outline.
- Fold it into a triangle. Bring the bottom corner up to meet the top corner. Align the edges, then press along the fold to create a clear centre line.
- Position the triangle. Turn the triangle so its longest edge sits nearest you and its point faces away. This gives you a steady base for the concertina folds.
- Begin the concertina. Starting at the right-hand end of the longest edge, fold a narrow strip upwards. Keep the first crease straight, as it sets the direction for the remaining pleats.
- Continue from right to left. Fold the next strip down, then the following strip up. Repeat this alternating pattern across the triangle until you reach the left-hand point.
- Keep the pleats even. Make each fold similar in width, using the first crease as a guide. Uneven pleats can make one side appear fuller and the leaf less balanced.
- Secure the centre. Hold the pleated triangle gently at its midpoint. If the folds loosen, press the creases again before lifting the napkin from the table.
- Shape the leaf. Bring the two ends towards one another beneath the centre, forming a gentle curve. Avoid pulling the points tightly, which can flatten the pleats and distort the outline.
- Set the leaf on the plate. Place the folded napkin with its pointed end facing towards the top of the setting. Turn it until the pleats fan out evenly on both sides.
- Adjust the silhouette. Open the outer pleats slightly to suggest a leaf’s width, while keeping the centre compressed. Smooth any stray corners so the edges look deliberate rather than loose.
- Match the fold to the table. Use one leaf napkin per place setting for a consistent look. On a seasonal table, pair the green fold with simple plates; on a neutral setting, let the pleated texture provide the detail.
- Check the finished fold. Lift and replace the napkin once to make sure it holds its shape. If the concertina opens, tighten the centre and re-crease the right-to-left folds before serving.
The defining sequence is to fold the napkin in half to form a triangle, then concertina it from right to left. Keep that order in mind when preparing the leaf: the triangle is the starting form, and the concertina follows across it. If you need to begin again, return to these two steps and keep the direction consistent. A steady pace can make it easier to follow the sequence without rushing the creases. Once the fold is in place, keep the presentation simple and let the napkin’s leaf shape provide a quiet seasonal detail at the setting.
Loop fold
A loop fold gives a dinner setting a graceful, raised centre. Shape a soft loop in the fabric, then hold it in place with a napkin ring.
- Lay the napkin flat. Place a square napkin on a clean table, with one corner facing you. Smooth the fabric so the edges lie evenly, and remove any crease that crosses the centre.
- Fold it into a triangle. Bring the bottom corner up to meet the top corner. Align the edges, then press the fold lightly to create a clear base for the loop.
- Make a long band. Starting at the triangle’s base, fold the napkin upwards in narrow sections. Continue until the pointed top forms a neat strip, keeping the folds parallel as you work.
- Gather the centre. Hold the strip near its midpoint and bring the two ends together. Let the upper part rise into a curved loop, rather than flattening the fabric into a tight knot.
- Thread on a napkin ring. Slide the ring over the gathered centre and position it where the loop begins. Move the ring gently; pulling it too firmly can compress the fabric and narrow the shape.
- Adjust the loop’s height. Draw a little fabric upwards through the ring, then ease the curve open with your fingers. Keep the opening rounded, with enough space to show the napkin’s texture.
- Arrange the tails. Fan the loose ends beneath the ring, or let them fall evenly on either side. For a composed finish, keep both tails visible and smooth their edges with your fingertips.
- Check the fold from the front. Turn the napkin towards you and look for a balanced loop and centred ring. If one side appears fuller, ease a small amount of fabric through the ring.
- Choose how it sits. Place the loop upright on a dinner plate when you want a sculptural focal point. Lay it flat beside the plate if the ring or fabric makes the upright form unstable.
- Repeat the shape consistently. Fold each napkin in the same direction and position its ring at a similar point. Matching loop height and tail placement gives the whole table a deliberate, harmonious finish.
A loop fold suits an understated, elegant setting because the fabric creates the shape. Choose a plain napkin ring for a restrained look, or use a contrasting ring as a small accent.
Scrunch-and-tie fold
Fold the napkin into a square, pinch it at one corner, then secure the gathered fabric with a napkin ring or string. This relaxed style adds soft texture rather than crisp, symmetrical pleats.
- Choose the napkin. Set out a clean, square napkin and a napkin ring or short piece of string. A cloth napkin gives the gathered shape visible texture, while paper can be scrunched gently without pulling its layers apart.
- Clear a flat surface. Place the napkin on a clean table or worktop, with one corner pointing towards you. Smooth out any deep creases with your palm so the fabric gathers evenly.
- Fold it into a square. Bring one corner across to its opposite corner, then fold again to create a smaller square. Line up the edges before pinching; uneven corners can leave the finished bundle lopsided.
- Find the corner to gather. Turn the square so one open corner faces upwards. Select that corner as the pinch point, keeping the other edges loose enough to form a soft, rounded shape.
- Pinch the napkin. Hold the chosen corner between your fingers and lift the fabric from the surface. Let the rest fall naturally, rather than twisting it into a tight knot.
- Arrange the folds. Use your free hand to guide the hanging fabric into loose gathers. Spread the folds around the centre so the napkin looks full, with no single edge pulled too far out.
- Secure the centre. Slide a napkin ring over the pinched section, or tie string around it. Keep the fastening firm enough to hold, but loose enough to preserve the gathered fabric’s shape.
- Adjust the loose edges. Separate the fabric around the ring and smooth any corners that have folded under. For a more relaxed finish, leave a few edges at different lengths rather than making them perfectly even.
- Set it in place. Rest the gathered napkin on a plate or beside it, with the fuller section facing upwards. Turn each finished napkin the same way so the arrangement looks considered across the table.
- Make a matching set. Repeat the same pinch point and fastening position for each place setting. If using string, tie each knot consistently and trim loose ends so they don’t distract from the fabric.
You don’t need an iron or special tools for this style. Smooth the square with your hands, gather one corner, then secure it with string or a napkin ring.
King of Cotton: Bed Linen
King of Cotton offers bed linen for readers looking to bring a considered approach from the dinner table into the bedroom. Well-chosen bed linen can complement a calm, coordinated home, while towels, bathrobes and gowns, duvets and pillows complete bedroom and bathroom essentials.
Turn to King of Cotton when you’re refreshing your bedroom or choosing bedding for a more refined guest space. Explore the bed linen collection to see the available options, then choose pieces that suit your room and preferences.
Explore King of Cotton’s bed linen online.
Bring a considered touch to your next gathering
Once you know how to fold napkins for a dinner party, make the setting your own. Choose a shape that suits the occasion, then echo its colours or textures in details such as flowers, tableware or soft furnishings. A cohesive home doesn’t need every element to match. A few thoughtful choices can create a welcoming atmosphere that feels distinctly yours.
King of Cotton offers bed linen, towels, and bathrobes and gowns for bedroom and bathroom updates. If you’re refreshing more than the table, explore these options as part of your home’s overall look. Choose pieces that complement your palette and the mood you want each room to convey.
For help with your next step, contact King of Cotton. Enjoy preparing a table that feels personal, elegant and ready to welcome your guests.
Frequently Asked Questions
What napkin folds are easiest for a dinner party?
The scrunch-and-tie fold is one of the easiest styles because it needs little precision: gather the fabric and secure it with a ring or string. A bow is also approachable once you’ve formed the strip, while the Christmas tree and leaf folds call for more careful creasing. For a relaxed meal, choose a style you can repeat consistently and practise it with your chosen napkin before setting the table.
How to fold a rose napkin for a formal dinner?
Roll the napkin diagonally from one corner, coil the strip, and tuck in the end. Place it within each guest’s reach so they can put it on their lap before eating.